Consumer expectations and the eCommerce experience converge at the point of shipping. Although small and mid-sized businesses benefit from the online shopping boom, most of them struggle to meet the additional fulfillment needs that come with expansion. As a result, a third-party service like ShipStation may be just what you need to expedite your shipping process.
Today’s tutorial will show you How to use ShipStation in WooCommerce. In addition, we also provide an in-depth assessment of its significant features and pricing strategies, and troubleshooting tips. So, let us dive in!
Requirements of ShipStation for WooCommerce
ShipStation is a paid shipping plugin that will access your WooCommerce database to transfer, import, and export orders. For that reason, there are some connection and order import requirements you need to clarify to use the plugin.
The requirements of connection:
- A WordPress domain controller with a verified URL.
- WooCommerce authentication key.
- An active account of WooCommerce.
- Already install ShipStation in your WooCommerce dashboard.
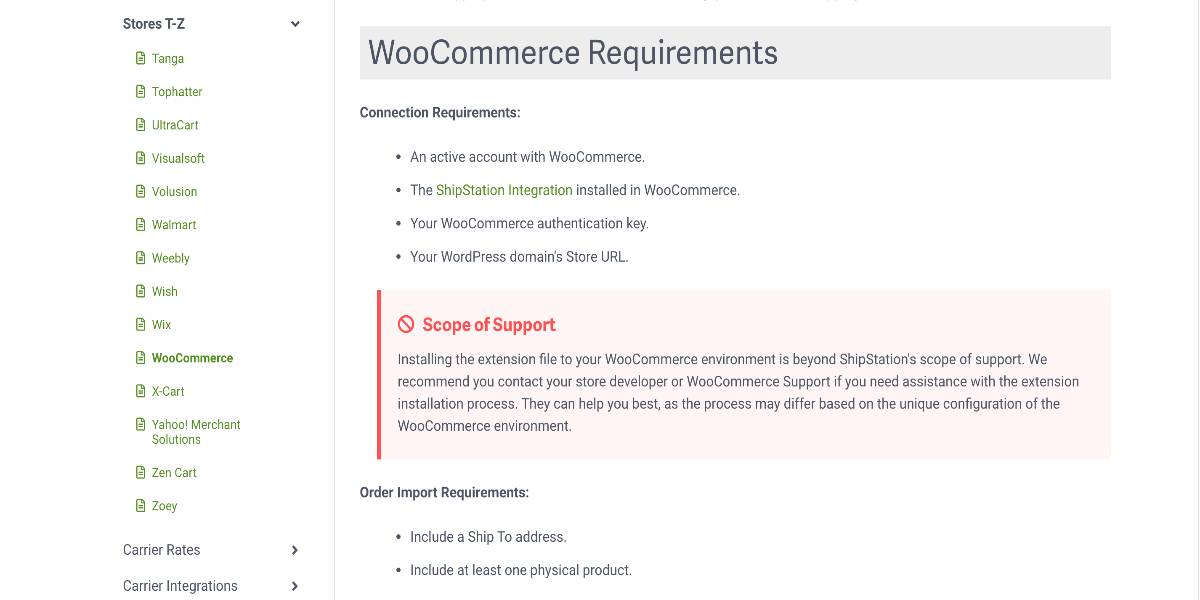
The requirements of order import:
- A list or database of shipping addresses.
- Each shipping order must include at least one physical product.
How to use ShipStation in WooCommerce
Step 1: Download the ShipStation plugin
To set up ShipStation in WooCommerce, the first step is to download and add the plugin into your WordPress dashboard. Follow the instructions below:
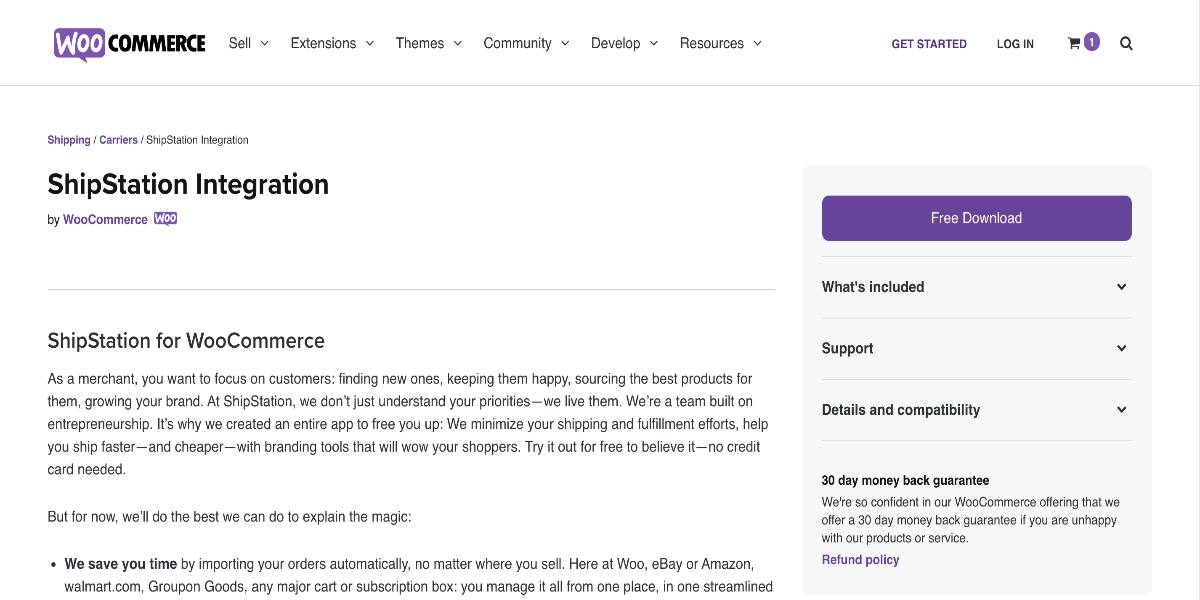
- Step 1: Go to the ShipStation homepage, look for the download section and download the ShipStation Integration plugin

- Step 2: Head back to your WooCommerce dashboard and log in to your administrator’s portal.
- Step 3: On your WordPress dashboard, navigate to the Plugins tab. Scroll down and click on the Add New option.
- Step 4: Find the Upload button and choose the zip file of the ShipStation plugin from your computer. After that, click on the Install Now button.
- Step 5: Wait a minute for the connection process. When everything is done, select Activate Plugin to complete the installation.
Step 2: Setup WooCommerce shipping setting
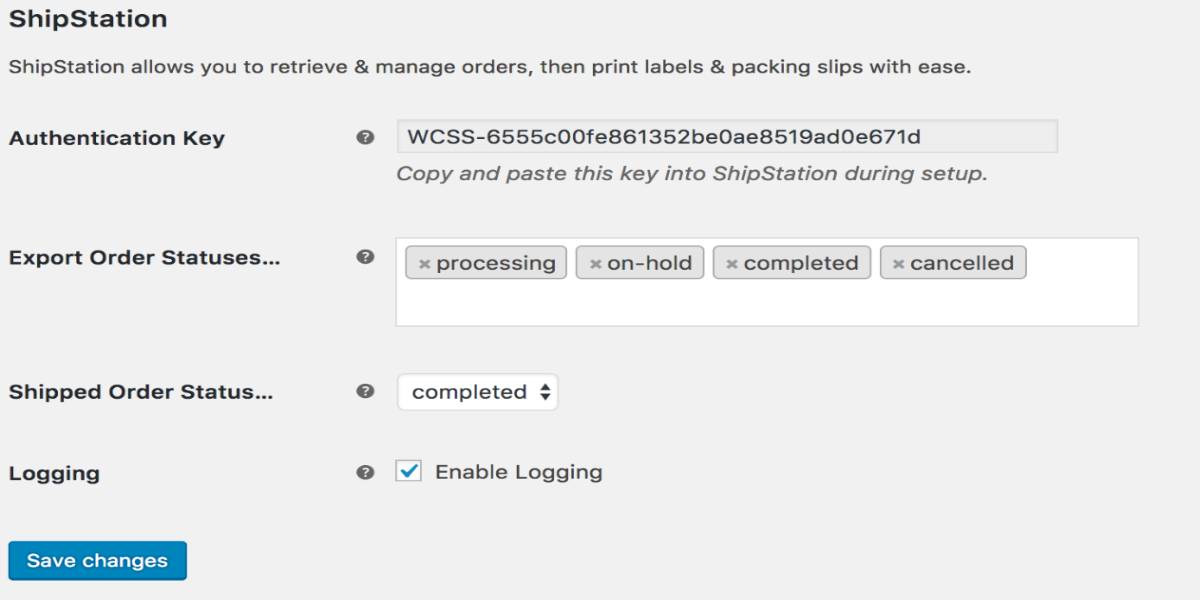
After installing ShipStation, you will need to adjust some default settings on WooCommerce. To begin, go back to your WooCommerce dashboard and select the Settings tab. Head to the Integration option and click on ShipStation. Now, the ShipStation setup page will appear on your screen. There are some components you need to understand clearly to connect your ShipStation successfully:
- Authentication Key: This is the first thing you see on the setup page. This is automatically created for you and cannot be altered. It is a unique key that you will use to link your online store to ShipStation.
- Export Order Statuses: Choose which WooCommerce orders with different statuses you would like to send to ShipStation. Only send orders that have been paid for, such as Processing, Completed, and perhaps On-Hold/Cancelled orders.
- Shipped Order Status: The order status should then be updated after being recorded as shipped in ShipStation. Completed is a good option since it typically implies the order is finished and no more action is required.
- Logging: Enable logging here if you’re having any problems. This might be beneficial for debugging issues. The logs may be found under WooCommerce > System Status > Logs. Then choose the relevant ShipStation log files from the logs menu.
After customizing the setup page, click on the Save changes option and move to step 3.
Step 3: Connect ShipStation to WooCommerce
After setting up the plugin, you need to link your store to your ShipStation account. Sign up for an account at this link if you do not already have one. Next, you will be asked to select a “Selling Channel” via which you may connect to your WooCommerce store.
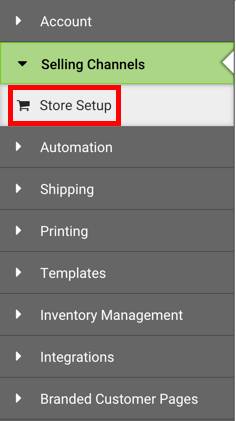
If you are already a ShipStation user, log in to your former account and head to Account Settings. On the left of the sidebar, select the Selling Channels option. Scroll down and click on the Store Setup tab.
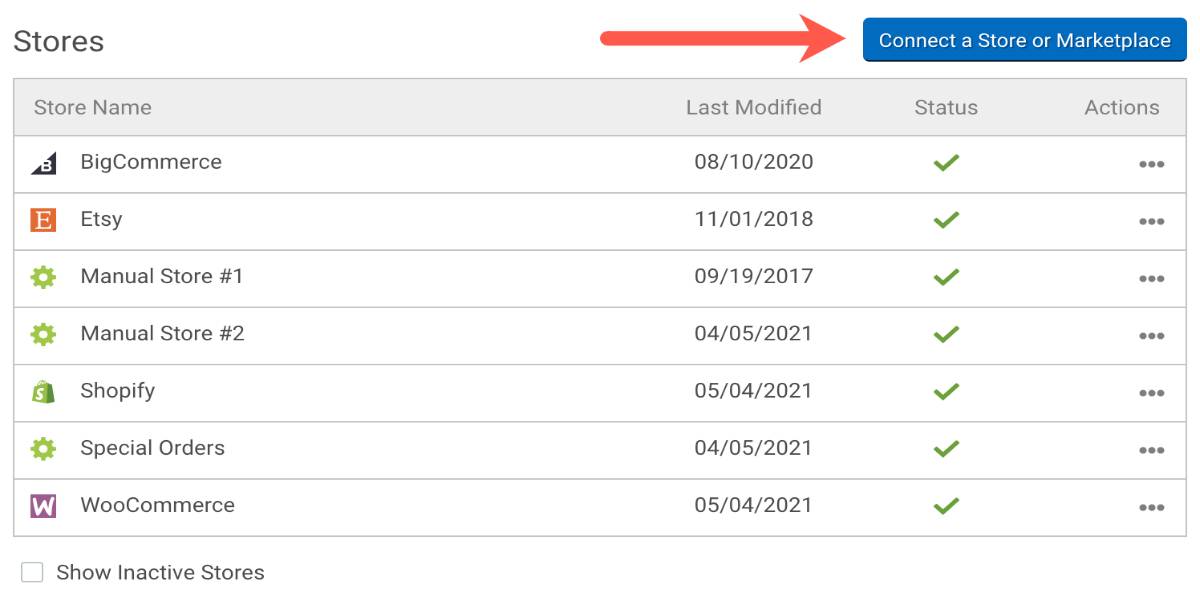
On the right side of the Stores page, click on the Connect a Store or Marketplace button and select the WooCommerce tile.
Now the new Connection window will appear. Fill in the Authentication Key and Store URL from the WooCommerce setup page in step 2. Check your information carefully, then select the Test Connection button. Wait a few seconds to let ShipStation verify the connection. If the test is successful, click on the Connect button to finish the process.

Step 4: Custom the Shipped Orders
Once you connect your WooCommerce to ShipStation successfully, it is time to customize the Shipped Orders of your online store. There is a crucial checkbox to choose when designating an order as shipped using ShipStation. Make sure the “Notify Marketplace?” option is selected and enabled.
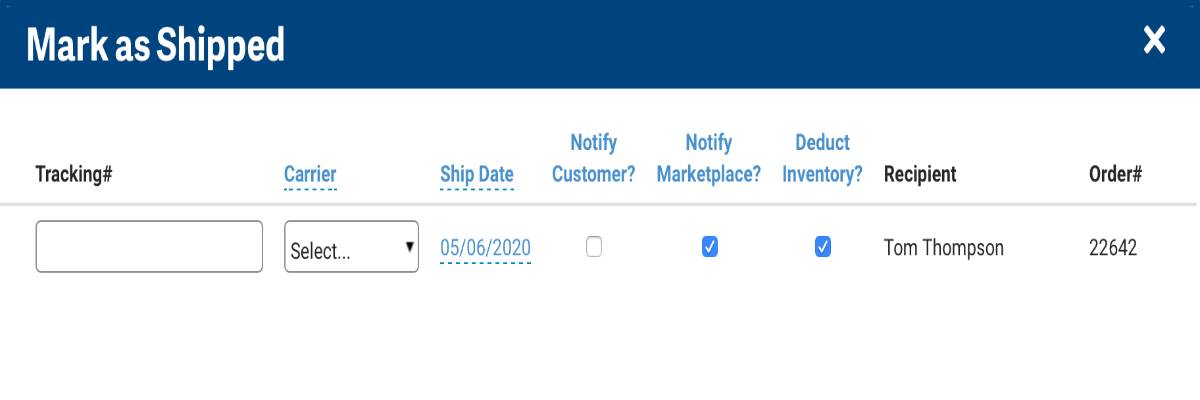 This is necessary so that ShipStation can notify your store, which in turn causes WooCommerce to conduct the following:
- The order status is changed to Shipped Order Status (which is typically Completed)
- Adds a customer remark with information about the carrier and tracking.
Step 5: Import and export field data to ShipStation
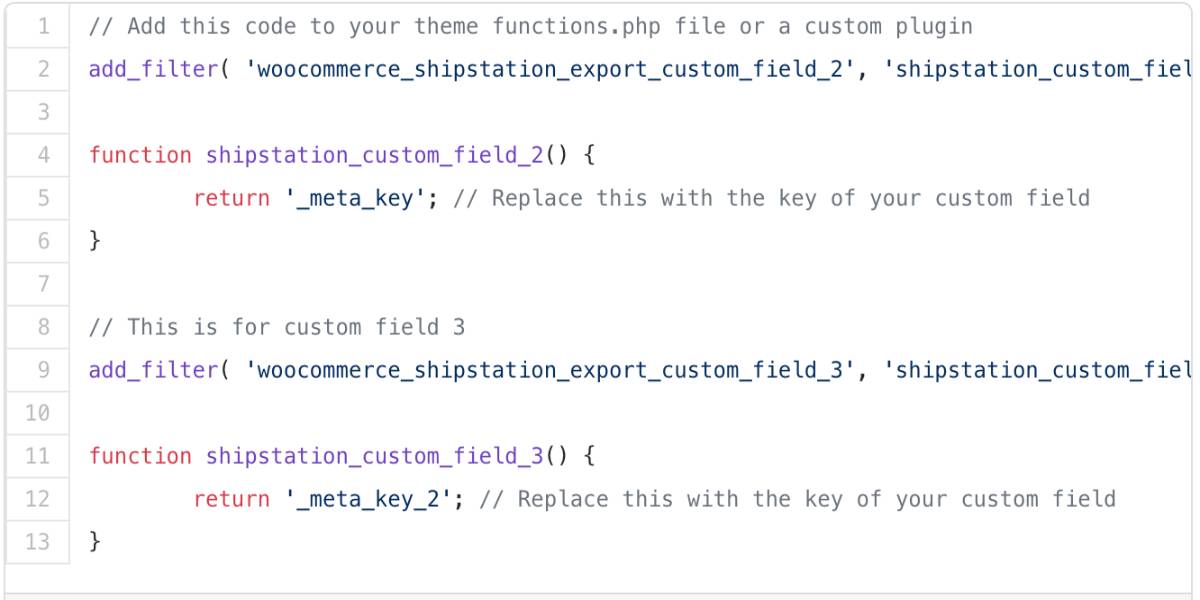
Finally, you can now import and export field data to ShipStation. ShipStation allows you to add up to three custom fields to your order that will be submitted to the ShipStation orders area. Coupon codes used in an order are stored in Custom Field 1. By default, this option is turned on. Custom Fields 2 and 3 can be modified using a snippet that specifies the name of the metadata to be exported.
Outstanding features of ShipStation for WooCommerce
- Provide custom views: This feature helps customize the user interface to your preferences. You can select what you want to see and set it through the Display option with this feature. To customize your default page, you may select from a variety of interface sizes and menus.
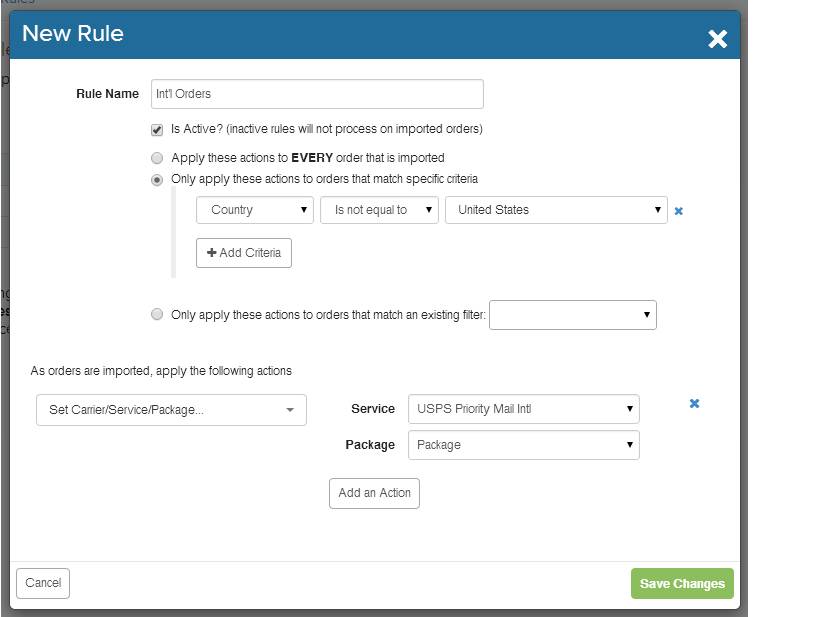
- Customize order fulfillment process: You can customize order fulfillment processes with ShipStation’s automation feature to save time and money on shipping. It employs automation rules, which are actions you want to do on a group of orders.
- Report data: Data exports, default reports, barcode scans, hotkeys, charts, and graphs are among the analytical capabilities available in ShipStation’s reporting tools.
- Manage multiple carriers: ShipStation integrates with a variety of carriers to help you avoid logistical headaches. It allows you to track your deliveries, handle order fulfillment, and create labels.
- Order Management: Order data from over 40 sales channels may be imported into ShipStation. Pre-configured shipping choices are applied to each order by the program. Specifications, bespoke packaging slips, and branding labels are used.
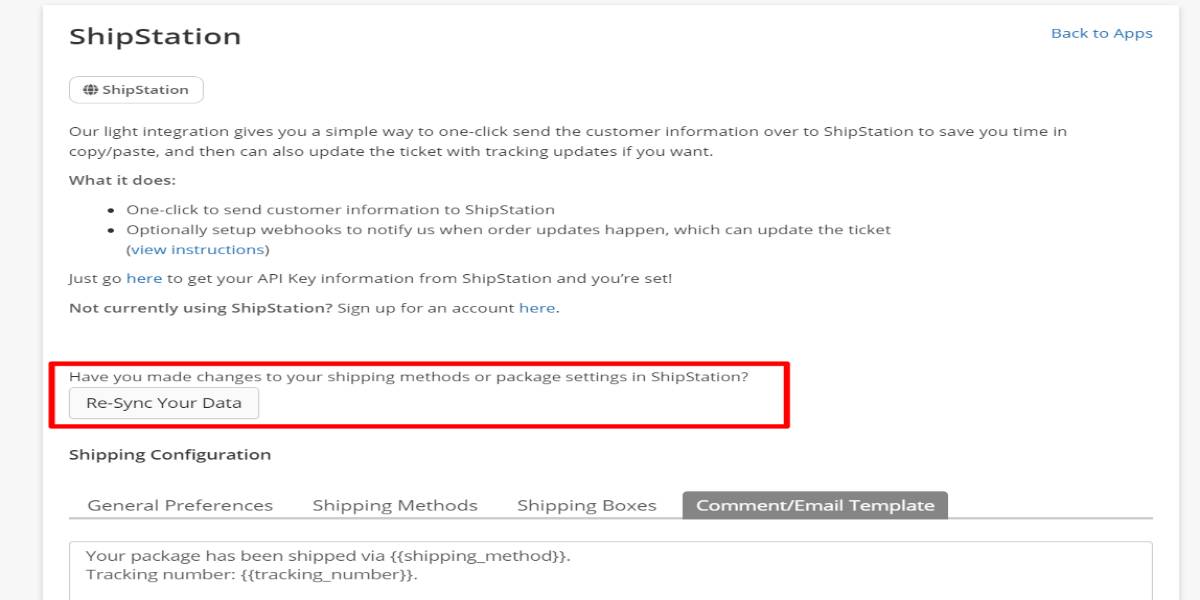
- Integration: ShipStation works with various marketplaces, online carts, and eCommerce systems in addition to carriers. Use the Custom Store Integration option to import orders if your platform does not integrate.
Troubleshooting tips
Here are some of the most common problems users have, as well as possible reasons and accessible troubleshooting techniques:
- The difference between the order date in ShipStation and WooCommerce: This issue happens when the WooCommerce server uses a time zone that differs from the time zone defined in ShipStation’s shop settings. You can change the store’s timezone to match the server’s timezone that hosts your WooCommerce store to solve this problem.
- Some orders placed late in the day do not import into ShipStation: This problem happens when the WooCommerce server utilizes a different timezone than the timezone defined in the store’s settings in ShipStation, similar to the first timezone issue.
- The “(500) Internal Server Error” when importing orders or connecting to the database: A (500) Internal Server Error is a general error message that says something went wrong but did not go into much information about what indicates the problem. To fix this issue, enable the WP_DEBUG option on your WordPress site.
- No more orders appear after updating WooCommerce to the next version: When you update your WooCommerce store, the Order ID values in your order database may be reset and reused. Because we employ Order ID values to identify distinct orders, such resets and reuses might be troublesome for ShipStation. When you upgrade your WooCommerce site to the latest version, this problem is very prevalent. The simplest solution is to create a new connection between your WooCommerce and ShipStation.
Conclusion
ShipStation is an excellent shipping option for small businesses that send out a few orders each month and large corporations that ship thousands of items. It features a simple admin interface, which helps compare shipping rates and can be integrated with various eCommerce systems.
We hope that our blog post will clear all your doubts about How to use ShipStation in WooCommerce. It would be a great tool to support your shipping process and reach more international customers!