WooCommerce is an excellent free plugin for WordPress that allows you to create a professional eCommerce store. You can develop products, run sales, manage your inventory, create custom coupon codes, customize your cart, checkout pages, and much more. If one aspect of the plugin leaves people a little cold and confused, it is how to set up shipping classes in WooCommerce.
So, in this article, we will indicate three main steps on how to set up shipping classes in WooCommerce for your online business. In addition, there is a short review about the three best WooCommerce shipping plugins that will help to enhance your experience compared with the default setting.
Shipping Classes-an overview
Shipping classes let up similar group products together and set shipping costs for those classes. It will save your spending on logistics and shipping costs based on weight, quantity, and preference.
As an online store owner, understanding the built-in shipping methods is the key to increasing your sales. With the WooCommerce shipping classes default setting, you can easily adjust the shipping rate for items of different sizes and weights.
 Why do you need Shipping Classes in WooCommerce?
 Why do you need Shipping Classes in WooCommerce?
When it comes to determining shipping values, it is difficult not just about distance traveled – the measurement and size of the items are also part of the cost comparison. ECommerce businesses rely on shipping, and efficient shipping will make your online stores more competitive. WooCommerce shipping classes enable you to use nearly any shipping strategy. If all of your products are the same, you are lucky. ThisIf it is not, this built-in feature will categorize your products in their respective class with their differences if it does not cost.
How to Set Up Shipping Classes Step-By-Step in WooCommerce
 How to Set Up Shipping Classes Step-By-Step in WooCommerce
Step 1: Creating a shipping class
First of all, you need to create a new shipping class. On your WordPress dashboard, navigate to the WooCommerce icon and choose Settings. The control panel table will present on your screen, then click on the Shipping tab. Select the Shipping classes right above the primary tabs and choose the Add shipping class option.
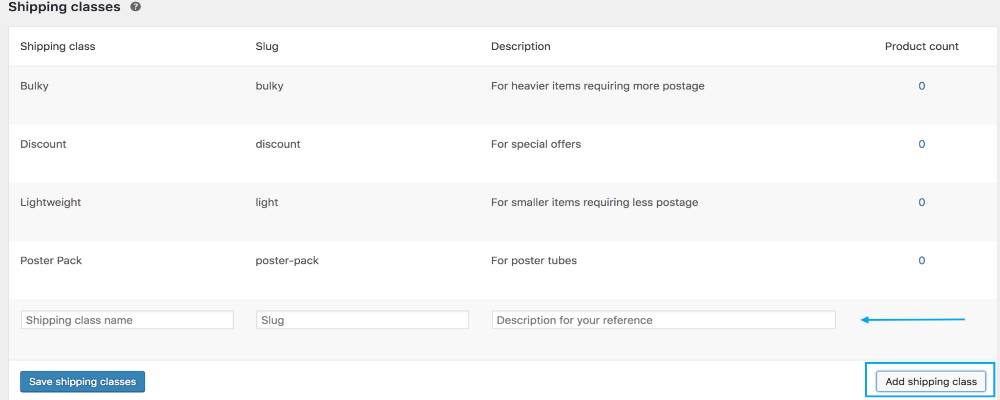 Right now, the Shipping classes table will appear. Type your shipping class name on the first blank box, then ignore the Slug box and move to the Description. The slug is the friendly URL for the SEO, so it will be automatically generated using the name of your class. Finally, to finish this step, create a description for your new category. Just make it simple and convenient for your process because customers will not see it. Click on the Save shipping classes button to save your change when all is done. After finishing creating your shipping class, there will be two options: Edit and Remove. You can use them to adjust the shipping fields or discharge classes collectively.
Step 2: Adding products to the proper shipping class
You might have numerous shipping classes based on the instruction of Step 1, and it is time to add your items to the appropriate shipping classes. When you finish this step, all of your products will transfer to a suitable shipping price. It will be helpful to customize and manage your shipping cart.
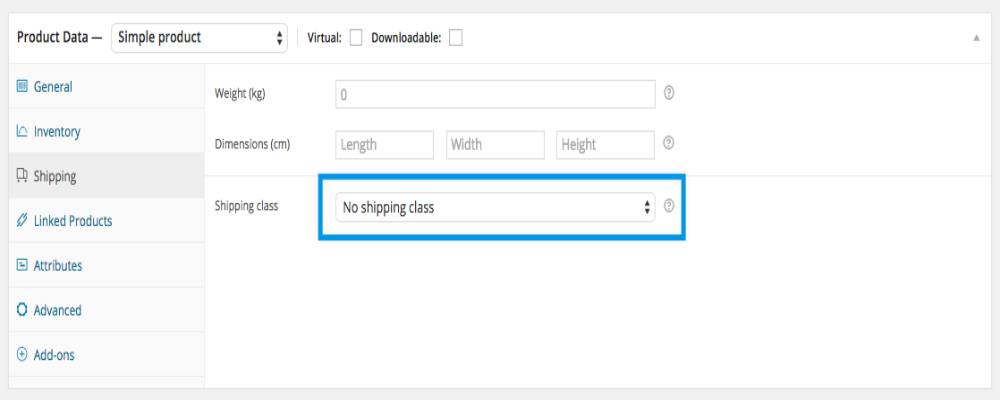
We will start at your WordPress dashboard homepage. Under the WooCommerce plugin, choose the Products tab. Now, click on the blue hyperlink representing one of your products to access the Product data table. Next, select the Shipping option and navigate to the Shipping class box. Finally, choose the appropriate Shipping class that you have created before from the dropdown menu.
Step 3: Selecting shipping rate for a different type of product
After creating and applying products to proper shipping classes, you need to set up a shipping rate to finish the shipping process. As a beginner, we recommend online store owners use flat rates. It will help calculate your shipping fees for different products based on the number of items in the customer’s cart.
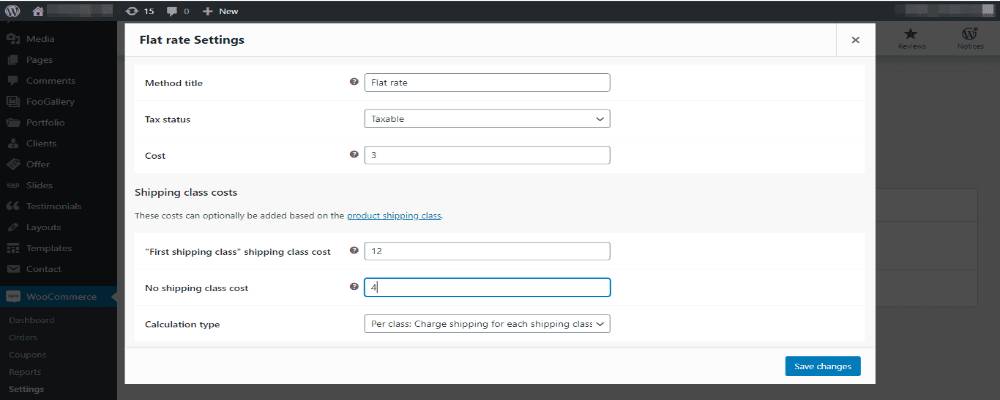
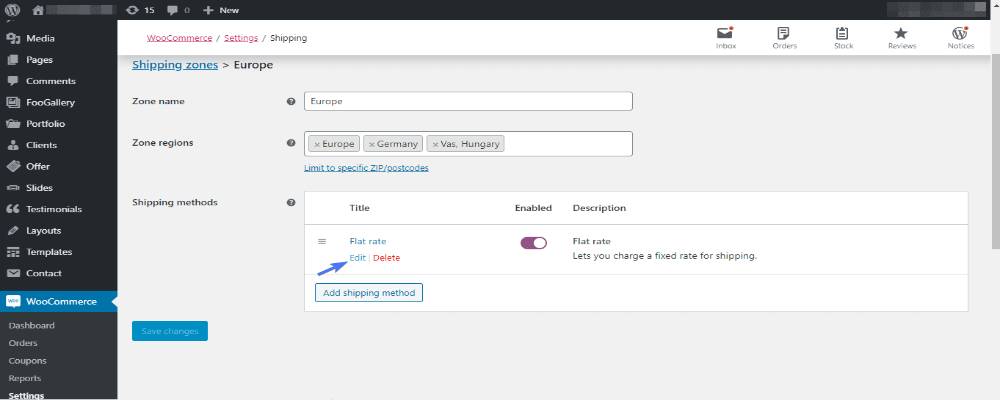 Again, on your WooCommerce dashboard, navigate to Settings and select the Shipping tab. At the bottom of the Shipping table, find the Flat Rate on the Shipping methods box. Click on the Edit option to open and customize your flat rate settings. Fill your choice into the blank boxes and remember to set your Calculation type to “Per class: Charge shipping for each shipping class individually.” Finally, click on Save changes to let WooCommerce modify your changes. And now, you are good to go!
3 Best WooCommerce shipping plugins
Doing business online is a dedicated and vital process. For that reason, a WooCommerce store needs some plugins to extend the functionality of clients. With the three best WooCommerce shipping plugins below, we will make sure that the buyers of your store are happy with the process and come back for more purchases.
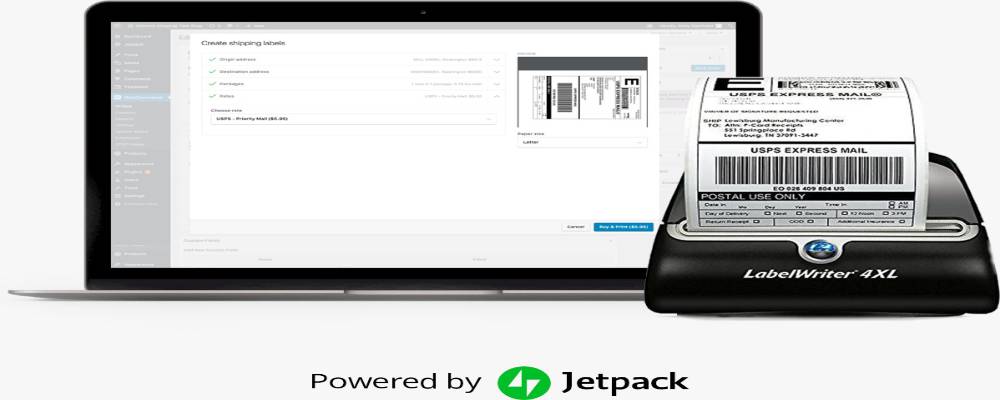
WooCommerce Shipping
WooCommerce Shipping is a fantastic plugin that is built into WooCommerce. It is specially designed to make the shipping process much easier and less costly. First, you can save up to 90% on USPS shipping, because you can print your labels. Second, it automatically sends the order details to the shipping company, saving you lots of time. WooCommerce is only aiming at the US customers right now, but they are working on expanding their geography. Overall, there is no reason why you would not use this simple free plugin that makes shipping products a breeze.
WooCommerce Advanced Shipping
WooCommerce Advanced Shipping is a powerful shipping solution provided by CodeCanyon for just $18. There is also a free trial version at the WordPress extensions store for beginners. This plugin has a friendly interface with advanced and highly customizable conditions. It requires no coding skills and will be an essential tool for store owners to create multiple shipping methods for their customers.
 WooCommerce Advanced Shipping supports shipping rates such as product weight, user roles, item quantity, category, and shipping class. You can easily upgrade the performance of this plugin with various available extensions built for WordPress and WooCommerce.
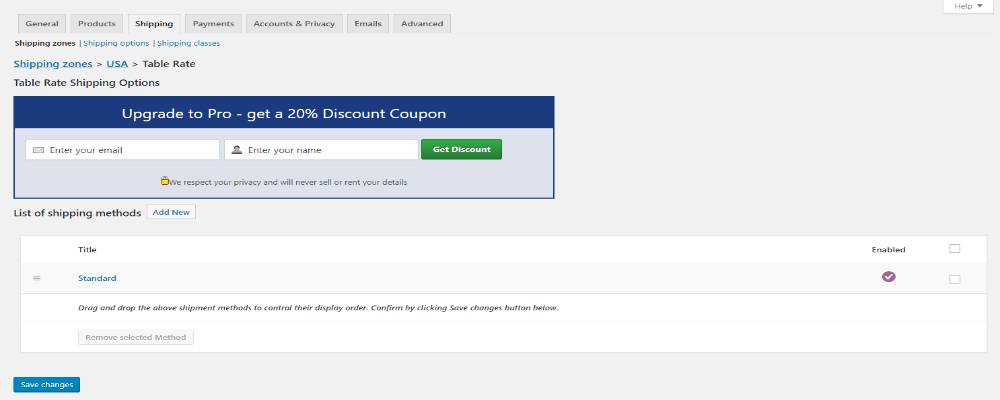
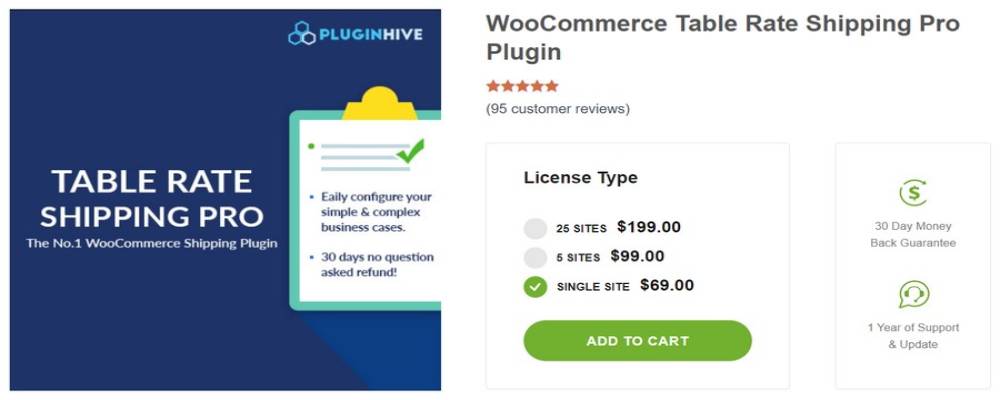
WooCommerce Table Rate Shipping Pro
WooCommerce Table Rate Shipping is a free plugin that offers fantastic features through which you can easily create different types of shipping rules. It also has a pro version that offers more features and advanced functions for your online stores. This plugin provides a friendly and intuitive user interface to handle the table rates effectively. It also helps define shipping rates by total weight and integrates with WooCommerce shipping zones.
Conclusion
Understanding the importance of shipping classes with help from other useful plugins will significantly contribute to your customer experience. In addition, it is also a great chance to boost your store’s total profits and expand your online business. Using them the correct and fastest way is a key to customize and enhance your shipping process.
We hope that this article will clear your mind on how to set up shipping classes in WooCommerce. And with the three recommended shipping plugins, it is just about time to succeed in the eCommerce industry!