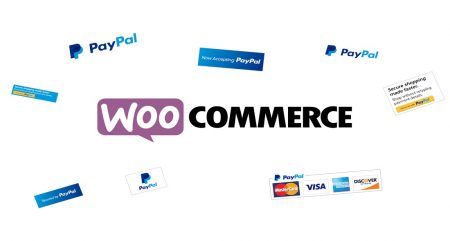
Do you want to create a profitable WooCommerce store? A solid online payment gateway is one of the most crucial aspects of e-commerce. PayPal is widely considered as one of the most well-known e-commerce platforms available today.
Therefore, in today’s article, we would like to show you how to integrate PayPal Checkout with WooCommerce.
WooCommerce PayPal Checkout overview
PayPal Checkout enables you to safely sell your products and subscriptions online utilizing In-Context Checkout, which allows you to fulfill security standards without interfering with your theme. In-Context Checkout employs a modal window hosted on PayPal’s servers that overlays the checkout form and allows your customers to enter their account details in a safe manner.
WooCommerce PayPal Checkout allows your store to accept PayPal payments and employs customizable Smart Payment Buttons. Customers who use PayPal Checkout can pay with PayPal or any major credit or debit card without ever leaving your site. Customers can buy directly from your product pages and pay in 26 different currencies.
Moreover, customers in the United States have the added benefit of Smart Payment Buttons. This feature will automatically present relevant payment options, such as PayPal and both Pay in 4 and PayPal Credit, allowing your customers to buy now and pay later while you get paid upfront.
Why should you integrate PayPal Checkout with WooCommerce?
It is believed that PayPal is the most popular payment gateway service on the internet today. Its simplicity, global availability, and high security make it the ideal online payment option for the majority of customers. Furthermore, for retailers, PayPal provides a wide range of tools that make receiving and transferring big payments considerably simpler.
According to Statista, there are currently almost 400 million active PayPal accounts worldwide, so if you do not accept PayPal payments, you may be missing out on a large number of shoppers who prefer to pay using this popular way.
As a result, you should really consider integrating PayPal Checkout with your WooCommerce store.
How to Integrate PayPal Checkout with WooCommerce?
There are three main steps you need to follow in order to integrate PayPal Checkout with WooCommerce.
Step 1: Download the PayPal Checkout plugin
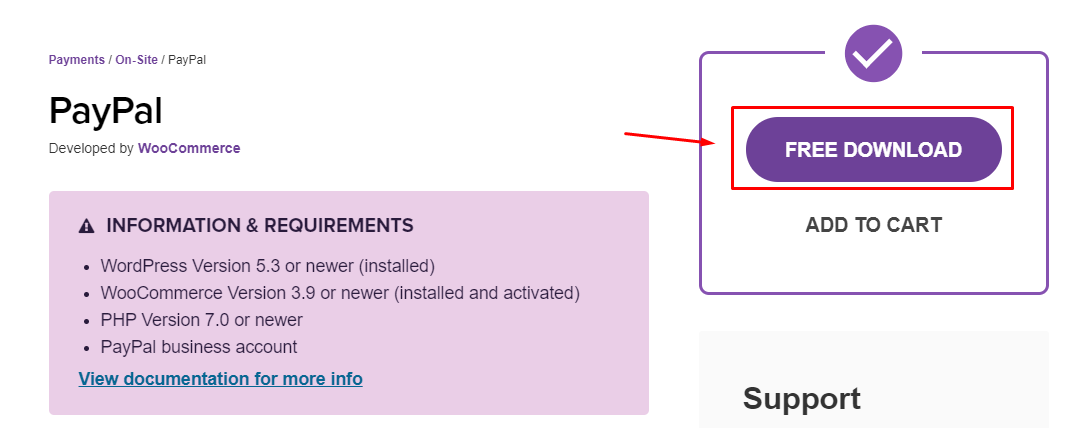
First of all, you need to go to this link and download the WooCommerce PayPal Checkout plugin.
Simply click on the button “Free Download”. You are also required to log in and fill in the checkout form, but you don’t have to fill in any credit car
 Once you’ve completed the needed fields, click the “Purchase” button on the right to receive a download link for the plugin file.
Simply click “Download,” and you should be all set.
Step 2: Install the PayPal WooCommerce plugin
When the PayPal Checkout plugin has been downloaded, you need to install it. In order to do it, navigate to your WordPress Admin Dashboard, and then click on the button “Add new”.
On the top right, click on the “Upload Plugin” button, and on the following page, click “Browse”.
After that, you will need to select the PayPal Checkout zip file that you have just downloaded in the previous step.
 The plugin installation should then commence when you click the “Install Now” button.
!Install PayPal WooCommerce plugin](https://cdn2.avada.io/media/resources/9nd2dm0.png)
After that, click Activate, and your plugin should now be activated and installed on your WordPress site.
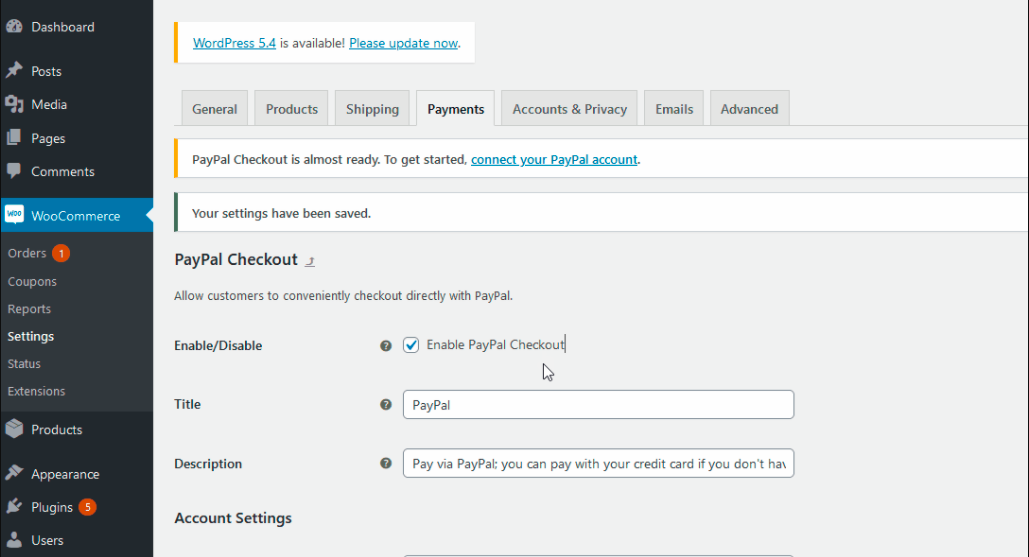
To enable the PayPal Checkout plugin, you have to make some WooCommerce settings. Just open your WooCommerce settings by going to “WooCommerce” from your WordPress Admin Dashboard sidebar and clicking on the button “Settings”.
!Install PayPal WooCommerce plugin](https://cdn2.avada.io/media/resources/IV5o530.png)
After that, go to the Payments tab and search for Paypal Checkout. Click the “Enable/Disable” toggle switch, and you should see a “Set-up or Manage” option to the right of the switch. To begin the setup procedure, click on “Set-up or Manage”.
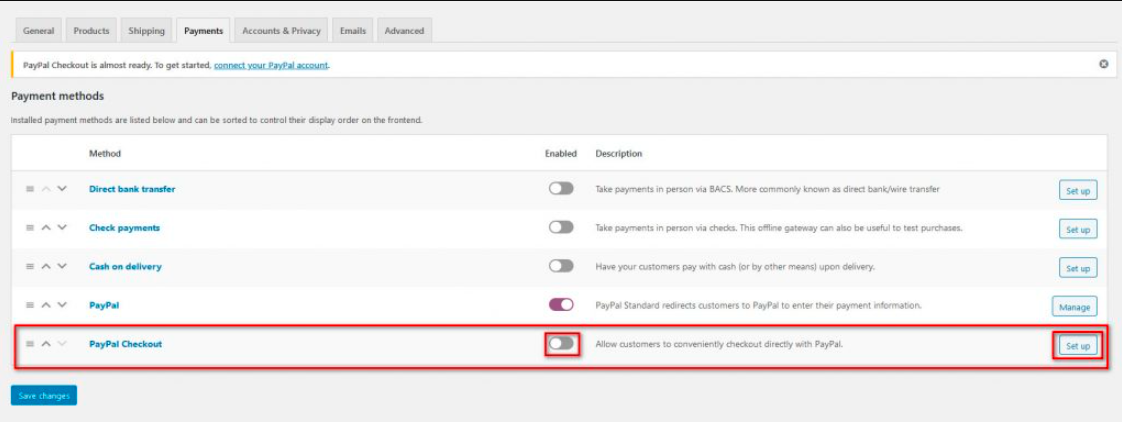 Once you click on “Set-up/Manage”, you will be directed to the “Paypal checkout settings” section.
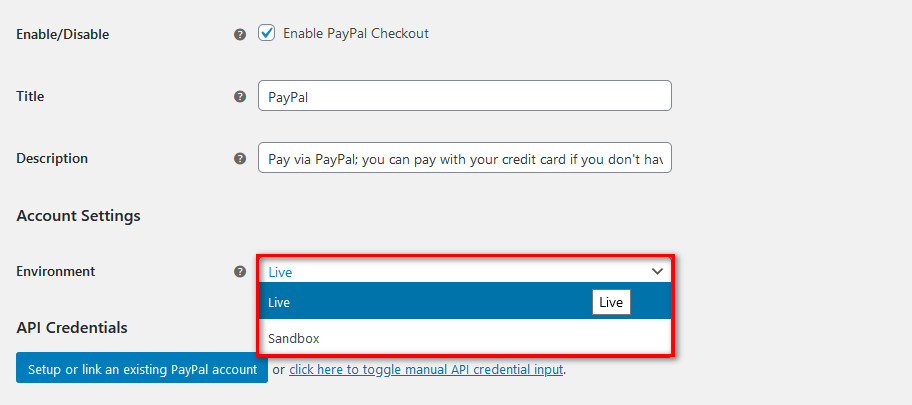
At the top, you can customize the “Title” and “Description” for your Paypal checkout page. You can also select to activate “Live transactions” or “Simulated transactions” using Paypal Sandbox by going to the “Environment settings” section below.
Besides, you can test the checkout page in the Sandbox environment before going live with a real page to ensure that everything works properly.
 Step 3: Integrate Paypal Checkout API
 Step 3: Integrate Paypal Checkout API
It is now time to integrate WooCommerce with PayPal. To do that, first, you need to set up your checkout API, which connects your website to PayPal transactions.
Go to the section of “Settings” under API credentials. This will be identified as Sandbox API credentials if you’re in a Sandbox environment. You can either click the button “Setup or link an existing PayPal account.”
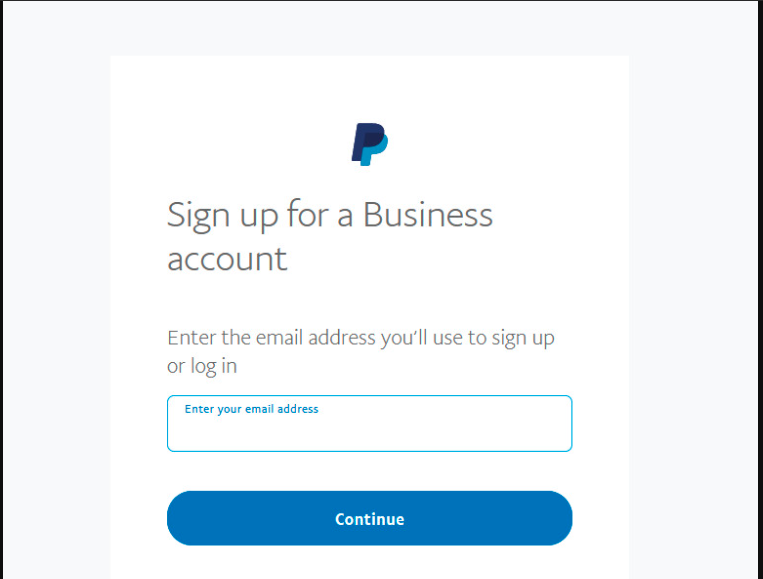
After that, you can simply enter your PayPal login credentials in the box that appears. It’s worth noting that if you wish to use “Live Transactions”, you will need a Business PayPal account.
 When you log in, you will be prompted to validate your PayPal Checkout. To return to your checkout settings, click the “Redirect” button.
!Integrate Paypal Checkout API](https://cdn2.avada.io/media/resources/Xukj6qV.png)
Your API should now be fully functional on its own. There’s no need to look for or register for API keys. The plugin automatically takes care of everything on its own.
After that, at the bottom of the settings screen, make sure “PayPal Checkout” is enabled and click “Save Changes”. The foundations of your PayPal checkout page should now be in place.
 There are, however, plenty of additional ways to customize your WooCommerce Paypal Checkout page. Now we will go through some of the most important ones.
You can include your logo, header pictures, and brand name. You can also pick whether your clients are directed to the billing page or the login page when they complete the checkout process.
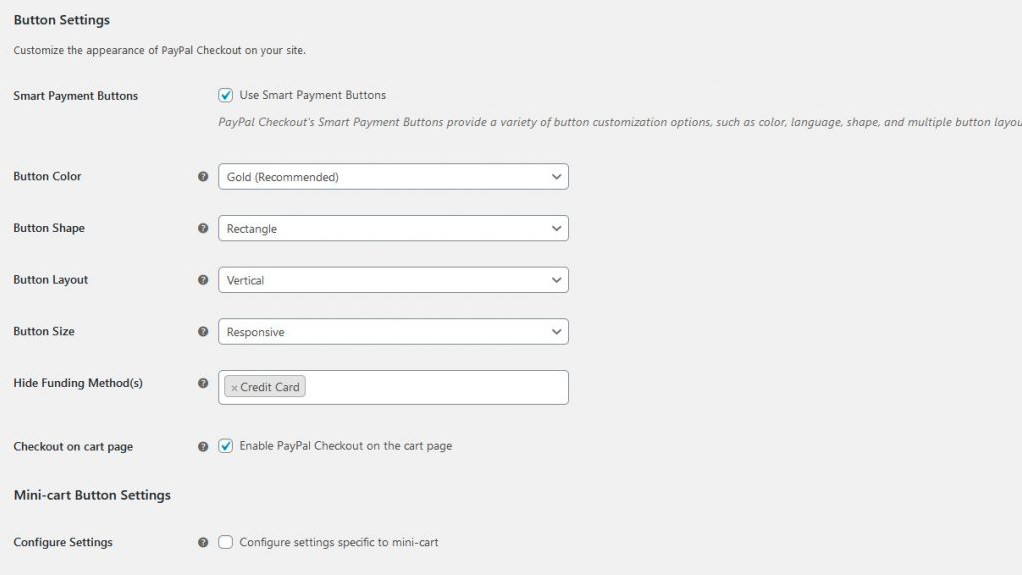
 On your checkout page, you could also customize the buttons, mini-cart, and other elements by scrolling down. There are a multitude of customization possibilities available. You can customize button layouts, colors, and sizes, as well as enable checkout right from your basket. To guarantee that your checkout page is adequately optimized, you should take the time to examine the options.
You can activate “PayPal Checkout” in the “Live environment” once you’ve modified the checkout page. To do so, go to your “PayPal Checkout manage” page and select the “Live” option under “Environment”. This will finish the integration between PayPal Checkout and your WooCommerce store.
 Nevertheless, it’s important to note that you might have to log in again to your Business PayPal account to integrate your Live API. In order to do that, click on “Setup or link an existing PayPal Account”.
Final words
PayPal is the most common payment gateway in the contemporary market, therefore, to keep customers in your store during the checkout process, you should really consider integrating your WooCommerce store with PayPal Checkout.
We hope that our article brings you lots of useful information. If you have any questions, feel free to comment down below.
Thank you for reading, and we’ll see you in the next post.