Whether you are a newbie in this eCommerce business or have been for a while, you probably have heard of Jetpack once. Jetpack is literally one of the most popular WordPress plugins which Automattic develops – people build WordPress.com. The plugin provides several of the most powerful features available on WordPress.com as well as self-hosted WordPress sites. Thus, it is undoubted that Jetpack gets the highest number of installations in the WordPress marketplace.
In this article, we are going to introduce you to an overview of this plugin and also the step-by-step tutorial on How to connect WooCommerce to Jetpack in the easiest and most detailed direction.
Now, let’s dive into it!
Why do you need to connect Jetpack?
Besides the overview relating to Jetpack, let us tell you the reasons why you should configure your WooCommerce store with this plugin. Firstly, it is very simple to use and get support from WordPress professional support team. Furthermore, the process of setting up is straightforward for any beginner to install. Of course, we will go into it deeper in the next part.
There are also some more benefits that you can gain after making the decision of integrating Jetpack:
- Enhanced website functionality
- Traffic growth and statistics
- Fortified security
- Centralized website management
- Search engine optimization
- Ease of use
- Reliability
- Excellent support
How to connect WooCommerce to Jetpack
Step 1: Install the Jetpack plugin
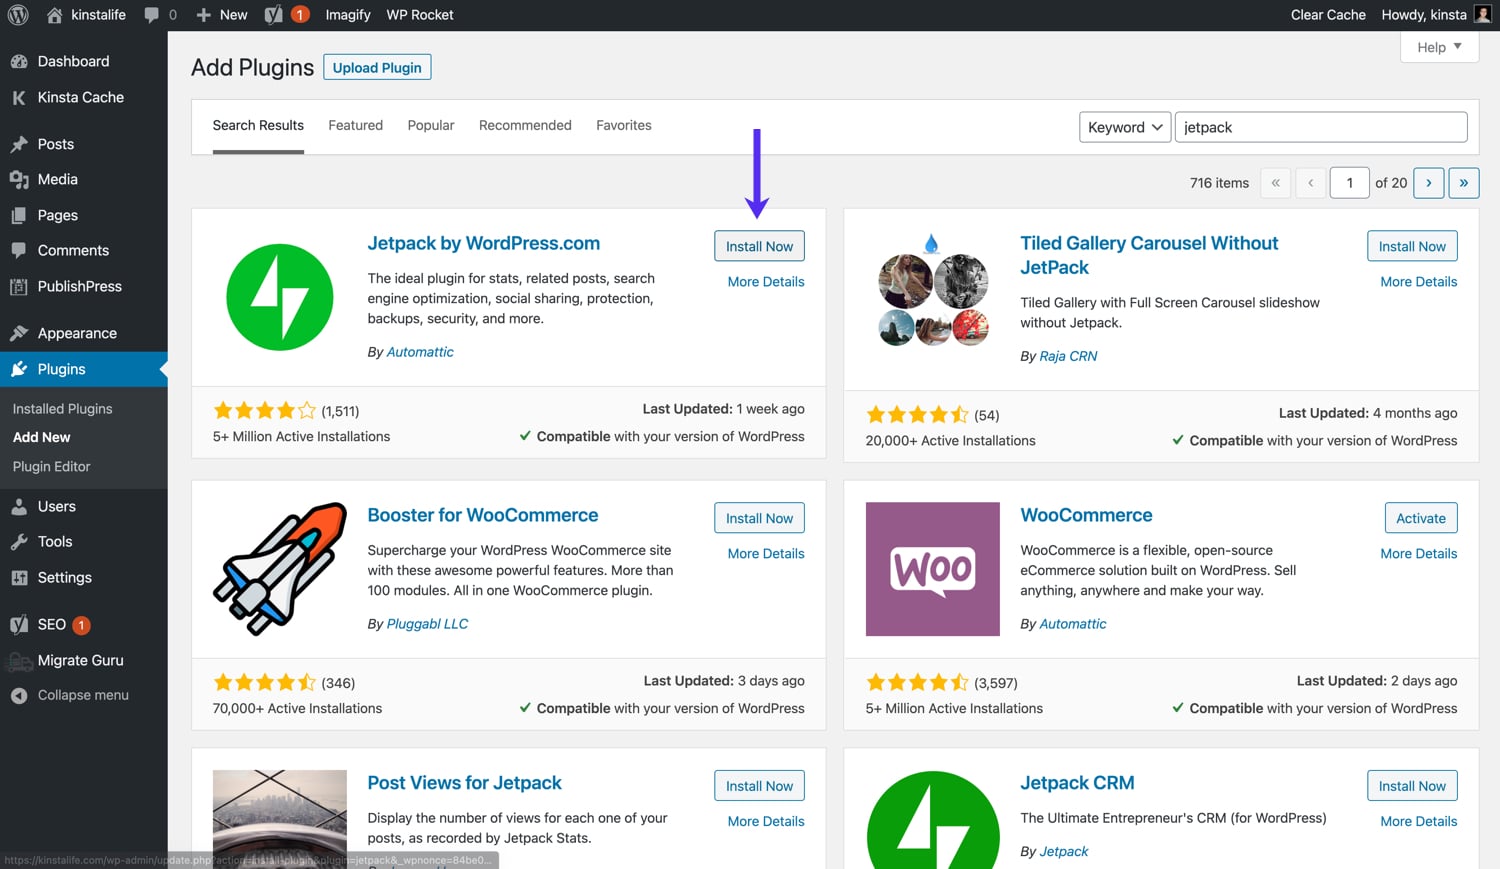
Now, we will come to the very first step of the installation process. You can start this step by going to your WooCommerce dashboard from your account store and heading to Plugins > Add New.
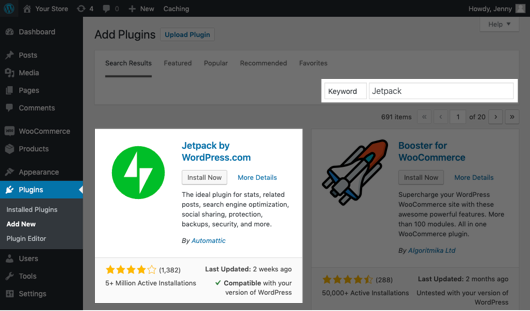
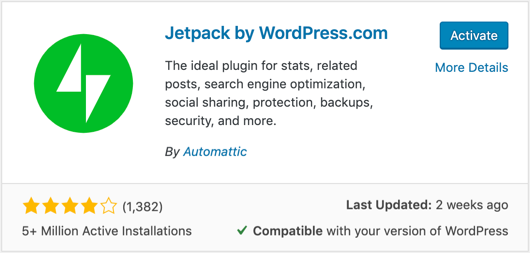
Once you’re there, navigate to the search box on the upper right corner of the screen and type “Jetpack”. Next, press Enter and find the plugin is labelled “Jetpack by WordPress.com” to choose.
To finish the first stage, click the “Install Now” button and wait for it to finish.
Step 2: Activate the plugin
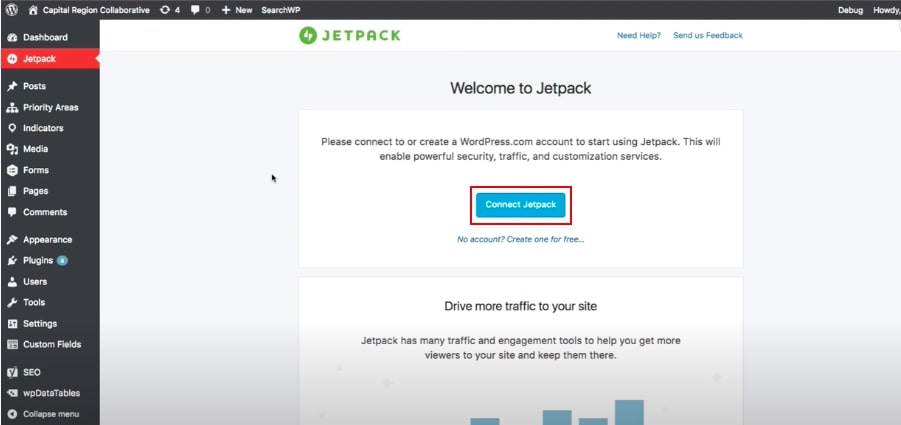
After that, there will be a button that says “Activate”; please click it again and you’ll be redirected to the welcome screen afterward. You can see the image below as a lively reference:
Step 3: Connect the plugin to your WooCommerce account
Once you’ve finished halfway through the installation process, now select the button named “Connect Jetpack”. Then you will be taken to WordPress and you will be asked to log into your WordPress account to continue connecting. In case you still do not have an account, just register a new one.
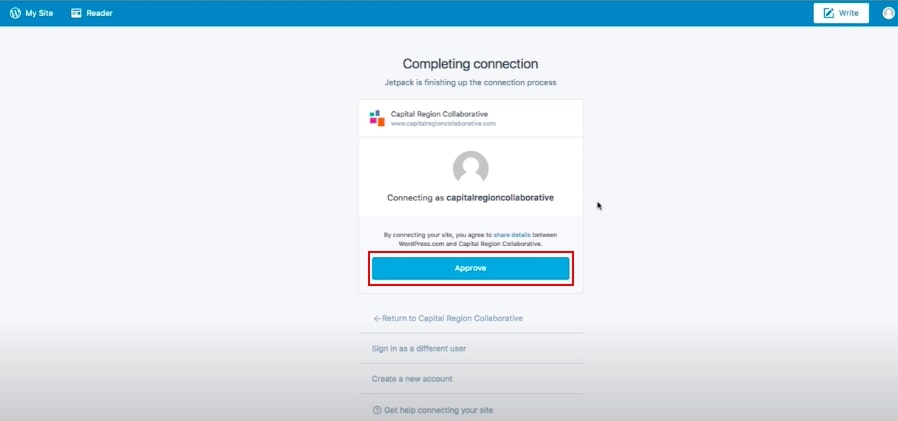
After logging in to WordPress.com, you can see the information appearing similar to this screenshot:
!Step 3: Connect the plugin to your WooCommerce](https://cdn4.avada.io/media/shopify/emVNUA6.jpg)
Click through the “Approve” button, then you will be prompted to pick a pricing plan if you don’t have one yet. For starters, we recommend you just select the Free plan:
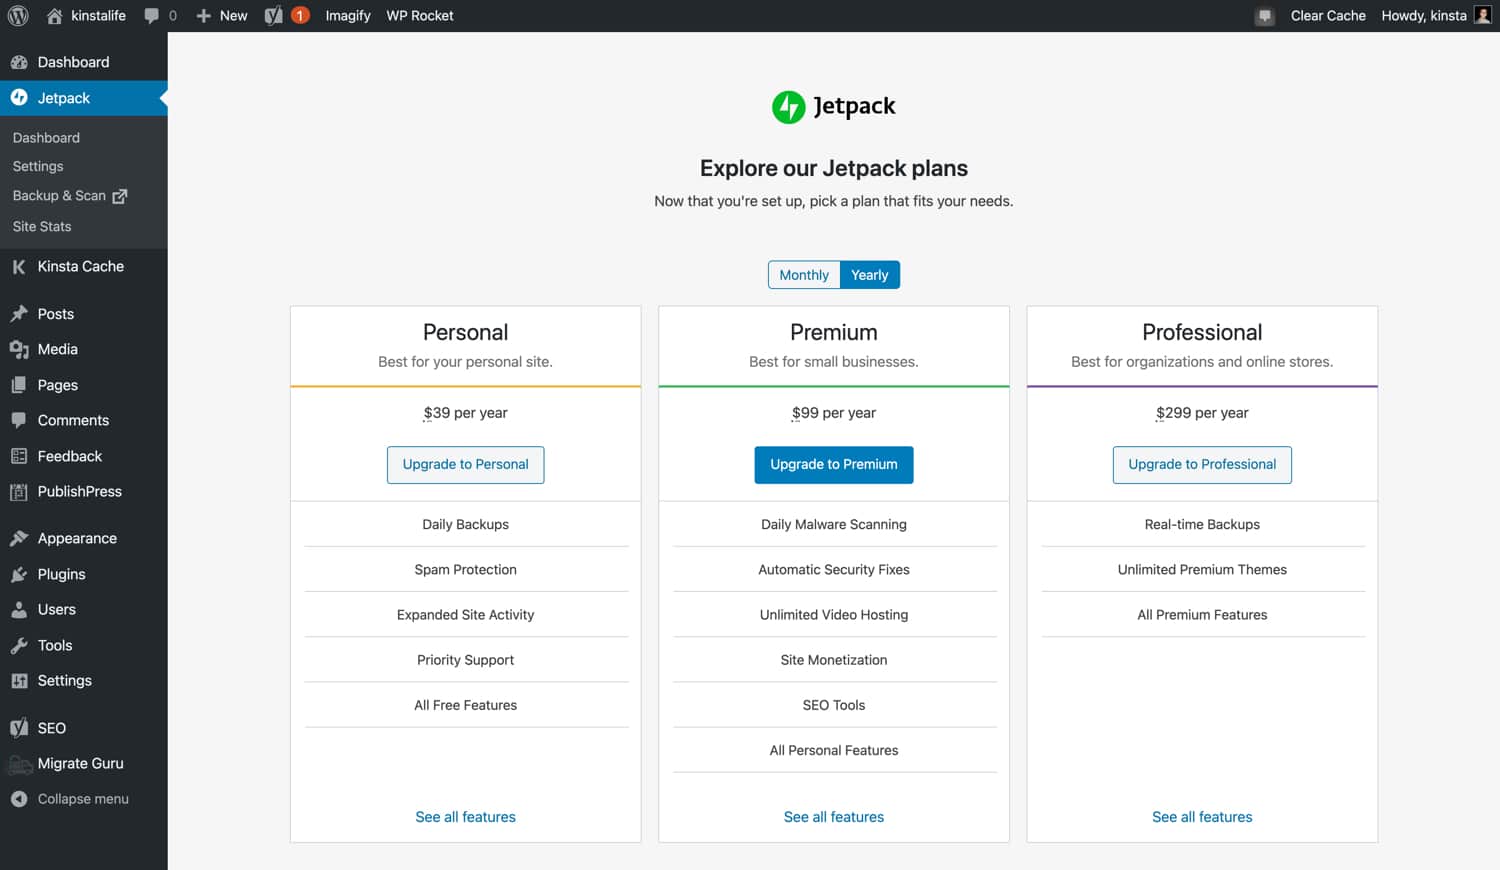
Once completing choosing the plan, you will be back again to your site’s dashboard with Jetpack. They require you to enable the suggested features to connect Jetpack to the WordPress platform successfully:
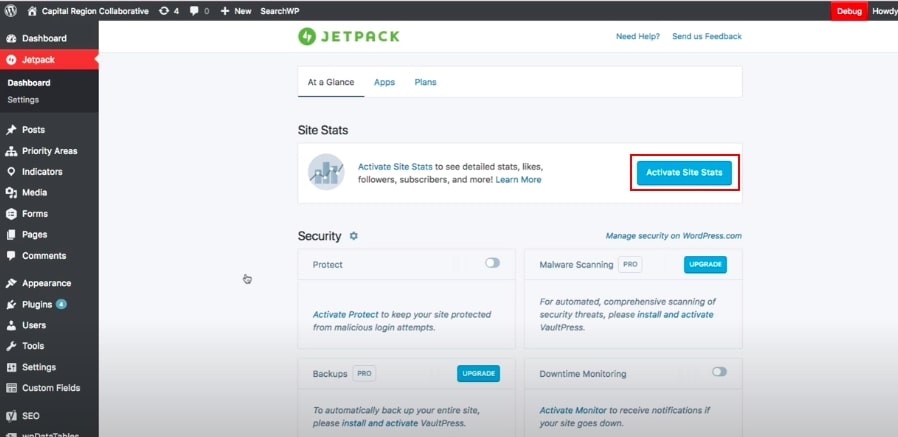
Ultimately, you’ll be prompted to Jetpack’s dashboard within your WooCommerce site after configuration (which should be empty if this is the first time you installed the plugin).
By creating an account and activating Jetpack, you can now link WordPress.com to your self-hosted site. You can then manage your self-hosted site straight from WP.com’s dashboard.
Step 4: Set up the Jetpack functions
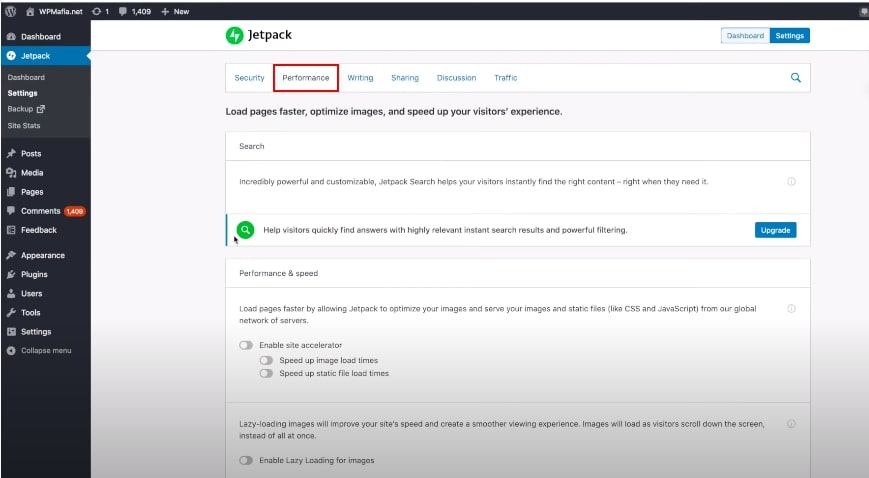
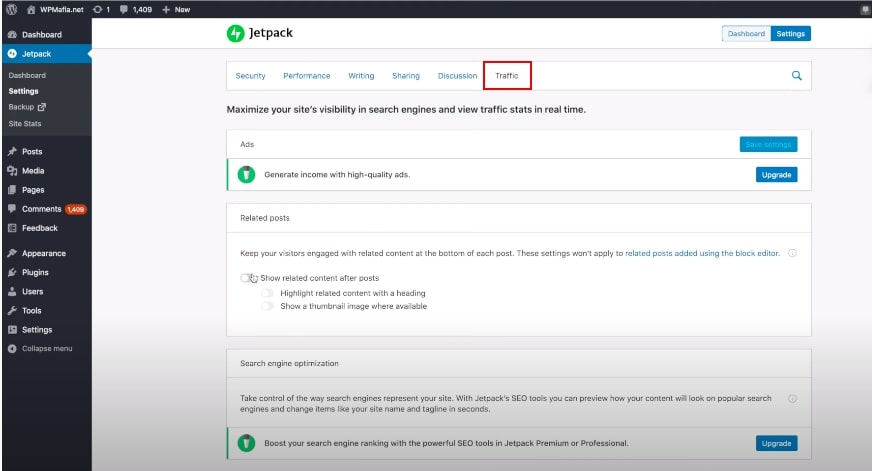
Now that you get Jetpack installed, now let’s see how to set up some of Jetpack’s features and settings. Go to Jetpack > Settings to access Jetpack’s settings.
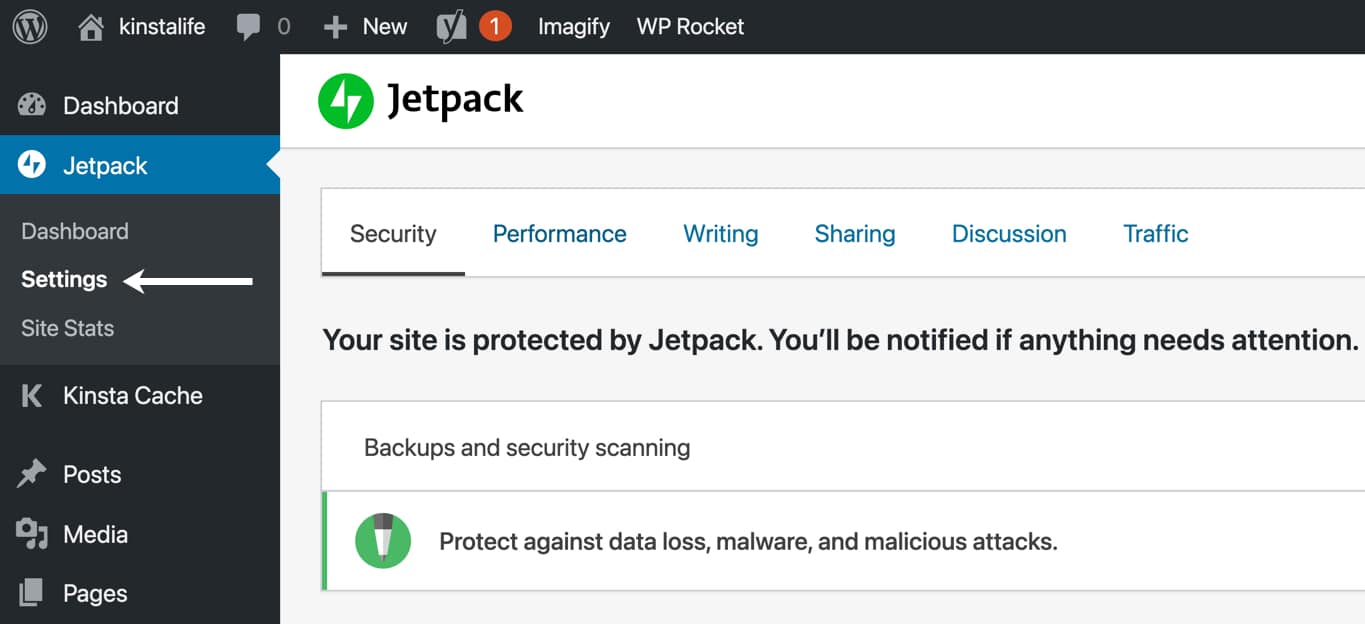
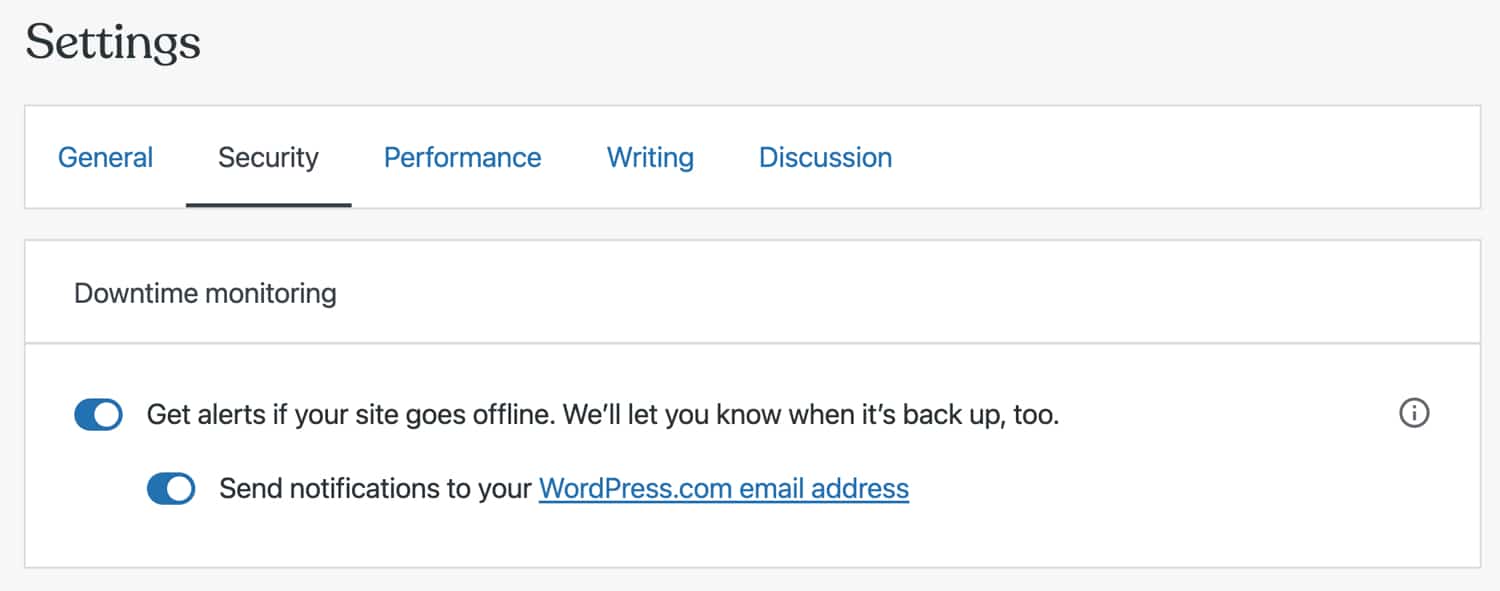
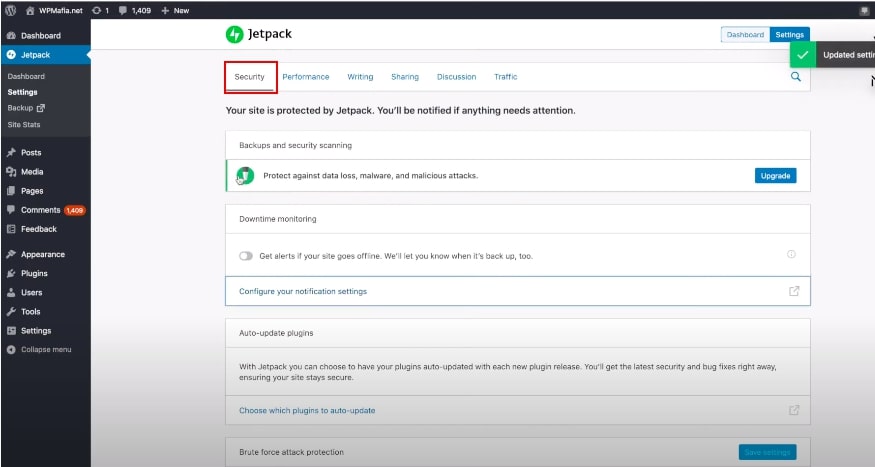
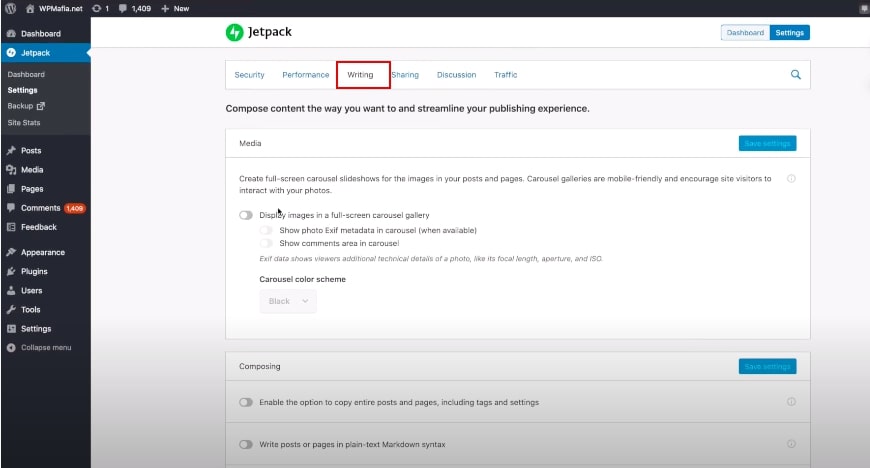
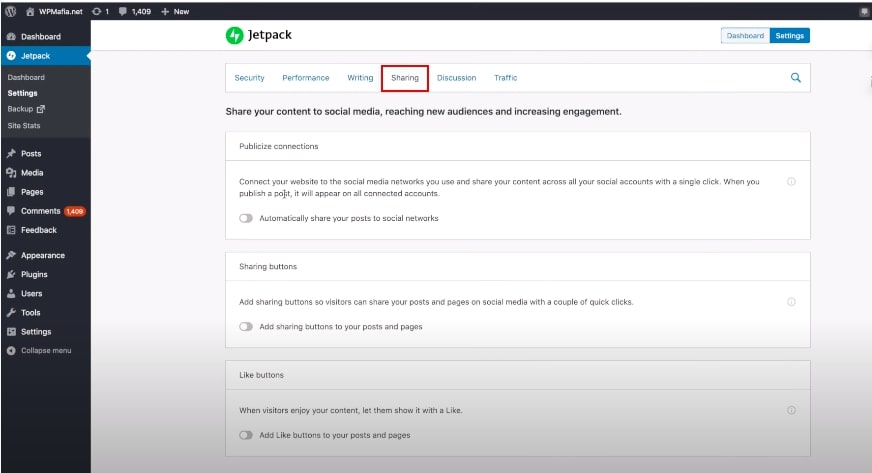
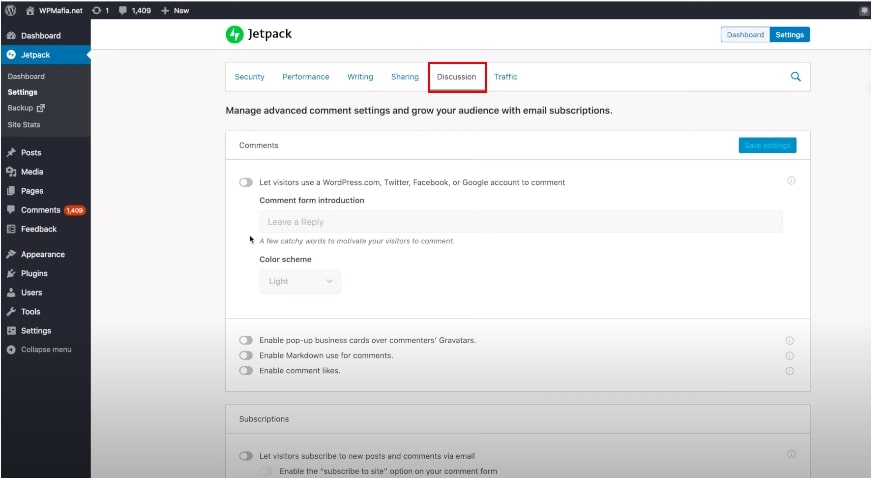
As shown above, you can turn a feature on or off as you want to by using toggles. Features are categorized for easy access, which you can visit via clicking on one of the items in the menu located on the upper part of the screen.
Security – downtime monitoring, auto-updates, brute force protection, and others.
Performance – search functionality, speed optimization, and media offloading.
Writing – full screen slideshows, markdown/LaTeX support, and more.
Sharing – social sharing, like buttons, and others.
Discussion – additional commenting functionality, subscriptions, and more.
Traffic – ads, related posts, short link generation, sitemaps, and others.
So that’s all! We’re not experts to guide you thoroughly on how to connect Jetpack, but at least the written steps are enough for you to test different features by switching them on or off. Jetpack is pretty intuitive to use, so you almost have little to no trouble at all. On the other hand, most of the features can be either enabled or disabled using the switch beside them.
Connection solution for beginners
Probably, the biggest problem when the users integrate WooCommerce with Jetpack is an error connection. Maybe the issue comes from other plugins interfering with the API calls for some actions on your store.
Plugin conflicts
The first possible solution is that you need to disable all plugins and keep Jetpack active. After that, try to connect again. In case the problem is resolved, enable plugins one by one again to identify the source of the problem.
If the connection still doesn’t work after fixing, try further options regardless of specific issues.
Keep in mind that a conflict may cause other issues and not let Jetpack connect, so looking for anything else not working properly. If that plugin is causing a conflict with Jetpack, please reach out to that plugin’s author to see if there is a fix to get it working with Jetpack.
Check theme issues
Another reason for the Jetpack error connection may derive from theme conflict. If you purchased and are using a theme that’s not coded up to modern standards or up-to-date modification in WordPress development, probably the theme could cause issues with Jetpack’s connection.
Firstly, you need to switch from a customized theme to the default theme, which is Twenty-Twenty. Just see if the connection issues are tackled. If so, you’ll have to either replace your original theme or talk to its developers to see if they can figure out why it isn’t working with Jetpack.
Test website speed
Normally, your site is fine if your site can load within 5-10 seconds for the Jetpack connection to work seamlessly. Your connection problem may lead to the slowness of a website speed which affects user experience. So in case, your website speed is getting slower after you configure the Jetpack plugin, you have to test it out one more time.
To resolve this issue, please contact WooCommerce supporters to submit your questions in order to get the latest backup.
Final words
After all, we’re much more knowledgeable about Jetpack now. At least you have perceived what it is, what features it offers, learned how to install and activate it, and the common problem relating to the Jetpack connection.
We hope that this tutorial – How to connect WooCommerce to Jetpack is helpful for your practice in your WooCommerce store. In case you face any problem, don’t hesitate to ask us to give our support or advice as soon as possible.